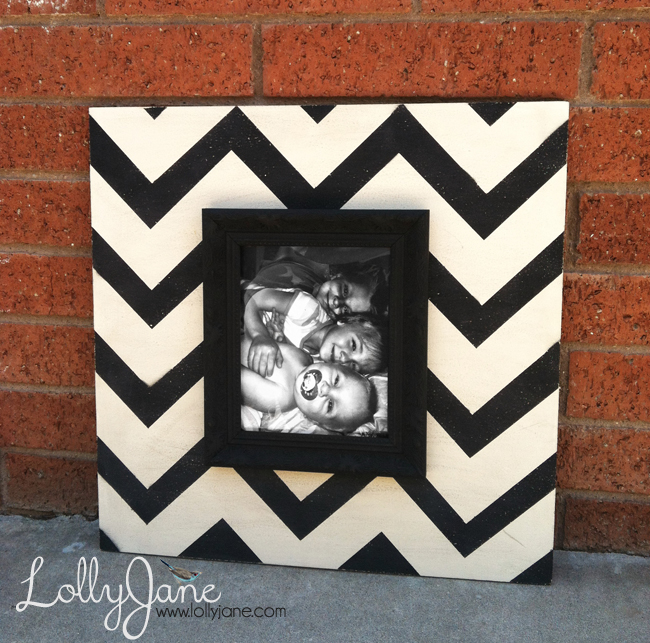
DIY wood chevron frame
In case you missed our last [big news] post, and to help keep them flowing fairly regularly, we’ve recruited our sissy’s to guest for us whenever they’re being crafty.
Btw, did you know we are 1 and 2 of 5 [yes, FIVE] sisters? And that we have 4 brothers? Yes siree! We are the 6th and 7th children of 9. We love love love having a huge ‘ol family! It totally comes in handy for times like this. Our 2nd oldest sis, Katie, made a cute wooden chevron frame recently and shared her tutorial pics with us… she took them without asking because she knew we’d be interested in posting to the blog! LOL We love how well our sisters know us! ;)
Today’s post is right up our ally: cute & cheap to make!

Kate works in our dad’s farm office part time and he had some extra 12×12 wood in the shop so she got busy after browsing Pinterest and found this cute frame by . Other than spray paint and a dollar store 5×7 frame, she used everyday supplies around the office to create her own version. Take a peek at the easy peasy process:
1. Paint 12×12 MDF wooden board cream.
2. Fold 8.5×11 paper horizontally in 1.5″ accordion folds.
3. Cut 1.5″ off the end and across each fold line.
4.Tape pieces in chevron pattern.
5. Lay out taped pieces on board.
6. Tape down pieces and areas to remain cream.
7. Cheap black spray paint @ WallyWorld is the way to go!
8. Spray paint over the pieces.
9. Remove tape and glue frame onto wood. That’s it!
We just ♥ the result!
Hope you’re inspired to make something so cute & trendy as these hot chevron picture frames for a fraction of the retail cost.
Well we have a few obligations to post this week so we’ll see you soon- happy Monday!


This Post Has 0 Comments