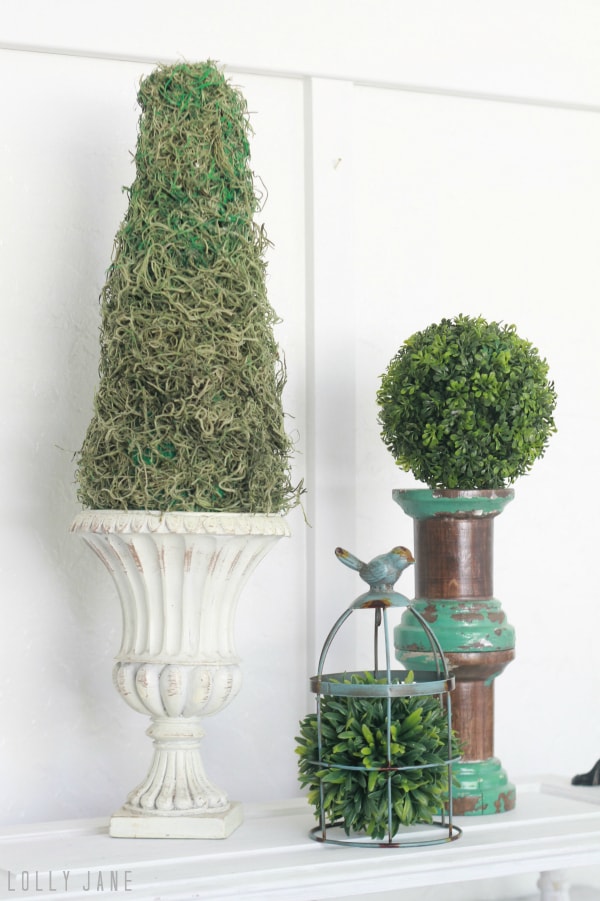
DIY Topiary Tutorial
Hello Creative readers! Happy to be back sharing an easy home decor project. The total cost for this easy DIY topiary was less than $6– we’re all about saving money on home decor to save money on important purchases, like power tools (;

Very little supplies are needed. You’ll need an urn or vase (ours was recycled from this project, but we see them often at Ross, TJ Maxx, etc), a styrofoam cone, green acrylic paint, spray adhesive and fake moss. Optional: a dowel, bakers twine and decoupage if you’d like it taller.

First you’ll paint your cone green. When it’s dry, spray the cone well with your adhesive and stick the moss to it evenly. Warning: your hands will get really sticky but will wash right off with soap! To keep it from shedding, give it a light coat of spray adhesive one more time, it will stop all the little moss bits from falling every time you move it around.

If you like the taller look and want to add some color, dowels wrapped in bakers twine will do the trick. Coat a dowel in decoupage, wrap it in bakers twine and insert it into the bottom of the cone and in the center of your urn. Quickly adds height if you have taller shelves and want to fill space.

Pretty darn easy, friends! I will be making more of these with different shaped stryofoam pieces I find at hobby stores.

See how easy that was? It took less than half an hour and my 4 year old liked helping me paint…until she realized how sticky the adhesive was! These are great for year round decor and especially for spring! Pair it with additional moss balls (these are from Rod Works) and a ceramic bird for easy year round decor.

or even a silly bunny you score at a thrift shop…

Check out our always growing list of tutorials on our blog plus our past projects here on Creative Home!


This Post Has 0 Comments